Swatching
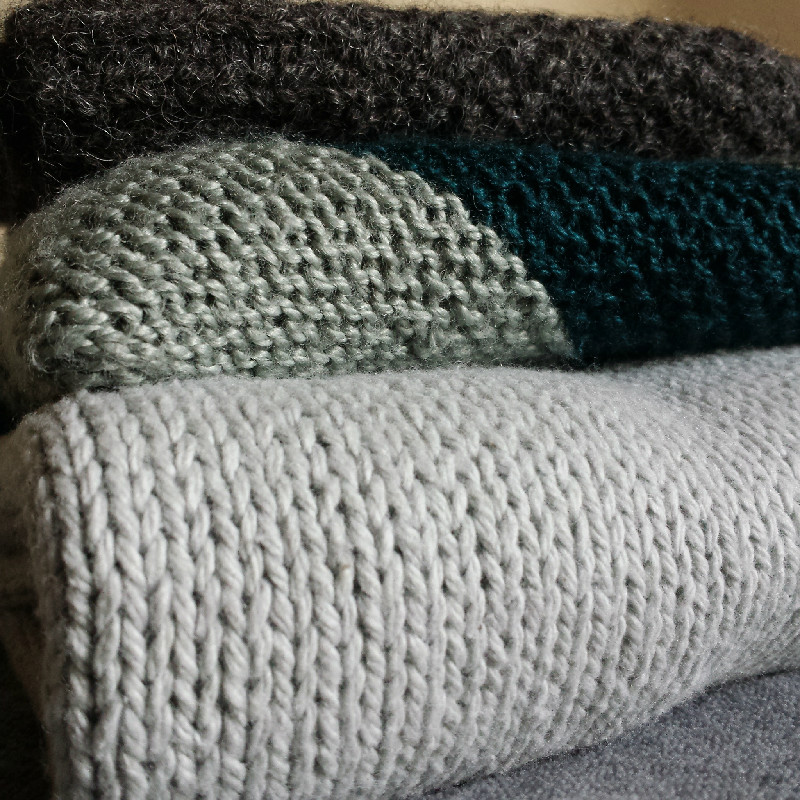
Before starting any knitting project it is important to first knit a gauge swatch. A gauge swatch is a square of knitted fabric that tells you a great deal of information about the yarn and the fabric it will create. Think of it as a trial run or small prototype for your project. Gauge is the number of stitches and rows in a unit of measurement, usually four square inches or ten square centimeters. Stitch gauge measures the width of the work and row gauge measures its height. Different yarns and knitters can produce vastly different gauges with same needle size.
To knit a gauge swatch you simply knit a square in your intended stitch pattern about 4” by 4”. If your stitch pattern requires a certain multiple of stitches be sure to use that for your cast on number. A swatch that it slightly larger than 4 inches will be easier to measure, and often will give you a better indication of how the knitting is going to behave on a larger scale. It is crucial that you use the exact yarn and needles you plan to use for the project. It is also worth mentioning that you need to knit your swatch slightly differently depending on if the project will be knit flat or in the round.
When you swatch 'in the round' you do not flip your swatch over and knit back the other way. Instead, you slide it back to the other end of a needle, pull the working yarn across the back loosely, and start knitting back across. The best way I can describe it is to think of the way a typewriter works. I usually hold my hand flat against the back of the swatch and use the extra depth created by my hand to add the slack to the yarn pulled across the back. When you block the swatch you can either just leave the stands there or cut them down the middle like I have in the pictures. I would not suggest cutting the strands unless you are sure you are not going to rip your swatch back.
When you finish your swatch you must wash and block it in the same way you plan on washing and blocking your finished project. I generally like to measure the swatch before blocking as well, just to make note of how the blocking changes the fabric. To measure the swatch, lay it on a flat surface and place a ruler on top of it. Make sure that the ruler is parallel to the row or column of stitches you want to measure. Often it is helpful to place a pin at the start and end points so that it is easier to keep track of where you are. Then count the number of stitches in your desired measurement. Be sure to count partial stitches too!
Most knitting patterns will specify a pattern gauge and if your gauge is different, your project will end up with different measurements than those given in the pattern. If you have more stitches/rows per inch than the pattern gauge your project will be smaller. If you have fewer stitches/rows per inch than the pattern gauge your project will be larger. By swatching before you begin the project itself, you can account for any differences in gauge.
If you do end up with a different gauge, don’t be disheartened. Simple fixes are to go up or down a needle size or two and then swatch again. If you simply cannot get gauge, some simple algebra will solve the problem. For projects like hats or scarves perfect gauge isn’t crucial, but for garments it is more important. Different yarns will behave differently in the same stitch pattern. By swatching beforehand, you will know if the yarn produces the desired look and feel in a given stitch pattern.


.jpg)
.jpg)
.jpg)
.jpg)
.jpg)
.jpg)
.png)
.png)
.jpg)
.jpg)
.jpg)
.jpg)
.jpg)
.jpg)
.jpg)
.jpg)
.jpg)
.jpg)
.jpg)
.jpg)
.jpg)
.jpg)
.jpg)
.jpg)